Performing regular maintenance keeps your dust collector working properly. When something goes wrong with it, you can lose money in repairs and system downtime. Some of the tips in this dust collector maintenance checklist take only a minute or two. But some do take a bit longer. Keeping up with this basic maintenance certainly prevents future problems.
Fortunately, all these maintenance steps can be performed by almost anyone with an owner’s manual. Set a schedule and check off these tasks when finished. Not only does this keep your dust collector working well, but it also provides documentation that you performed regular inspections.
Dust Collector Maintenance Checklist
 1. Record your differential pressure.
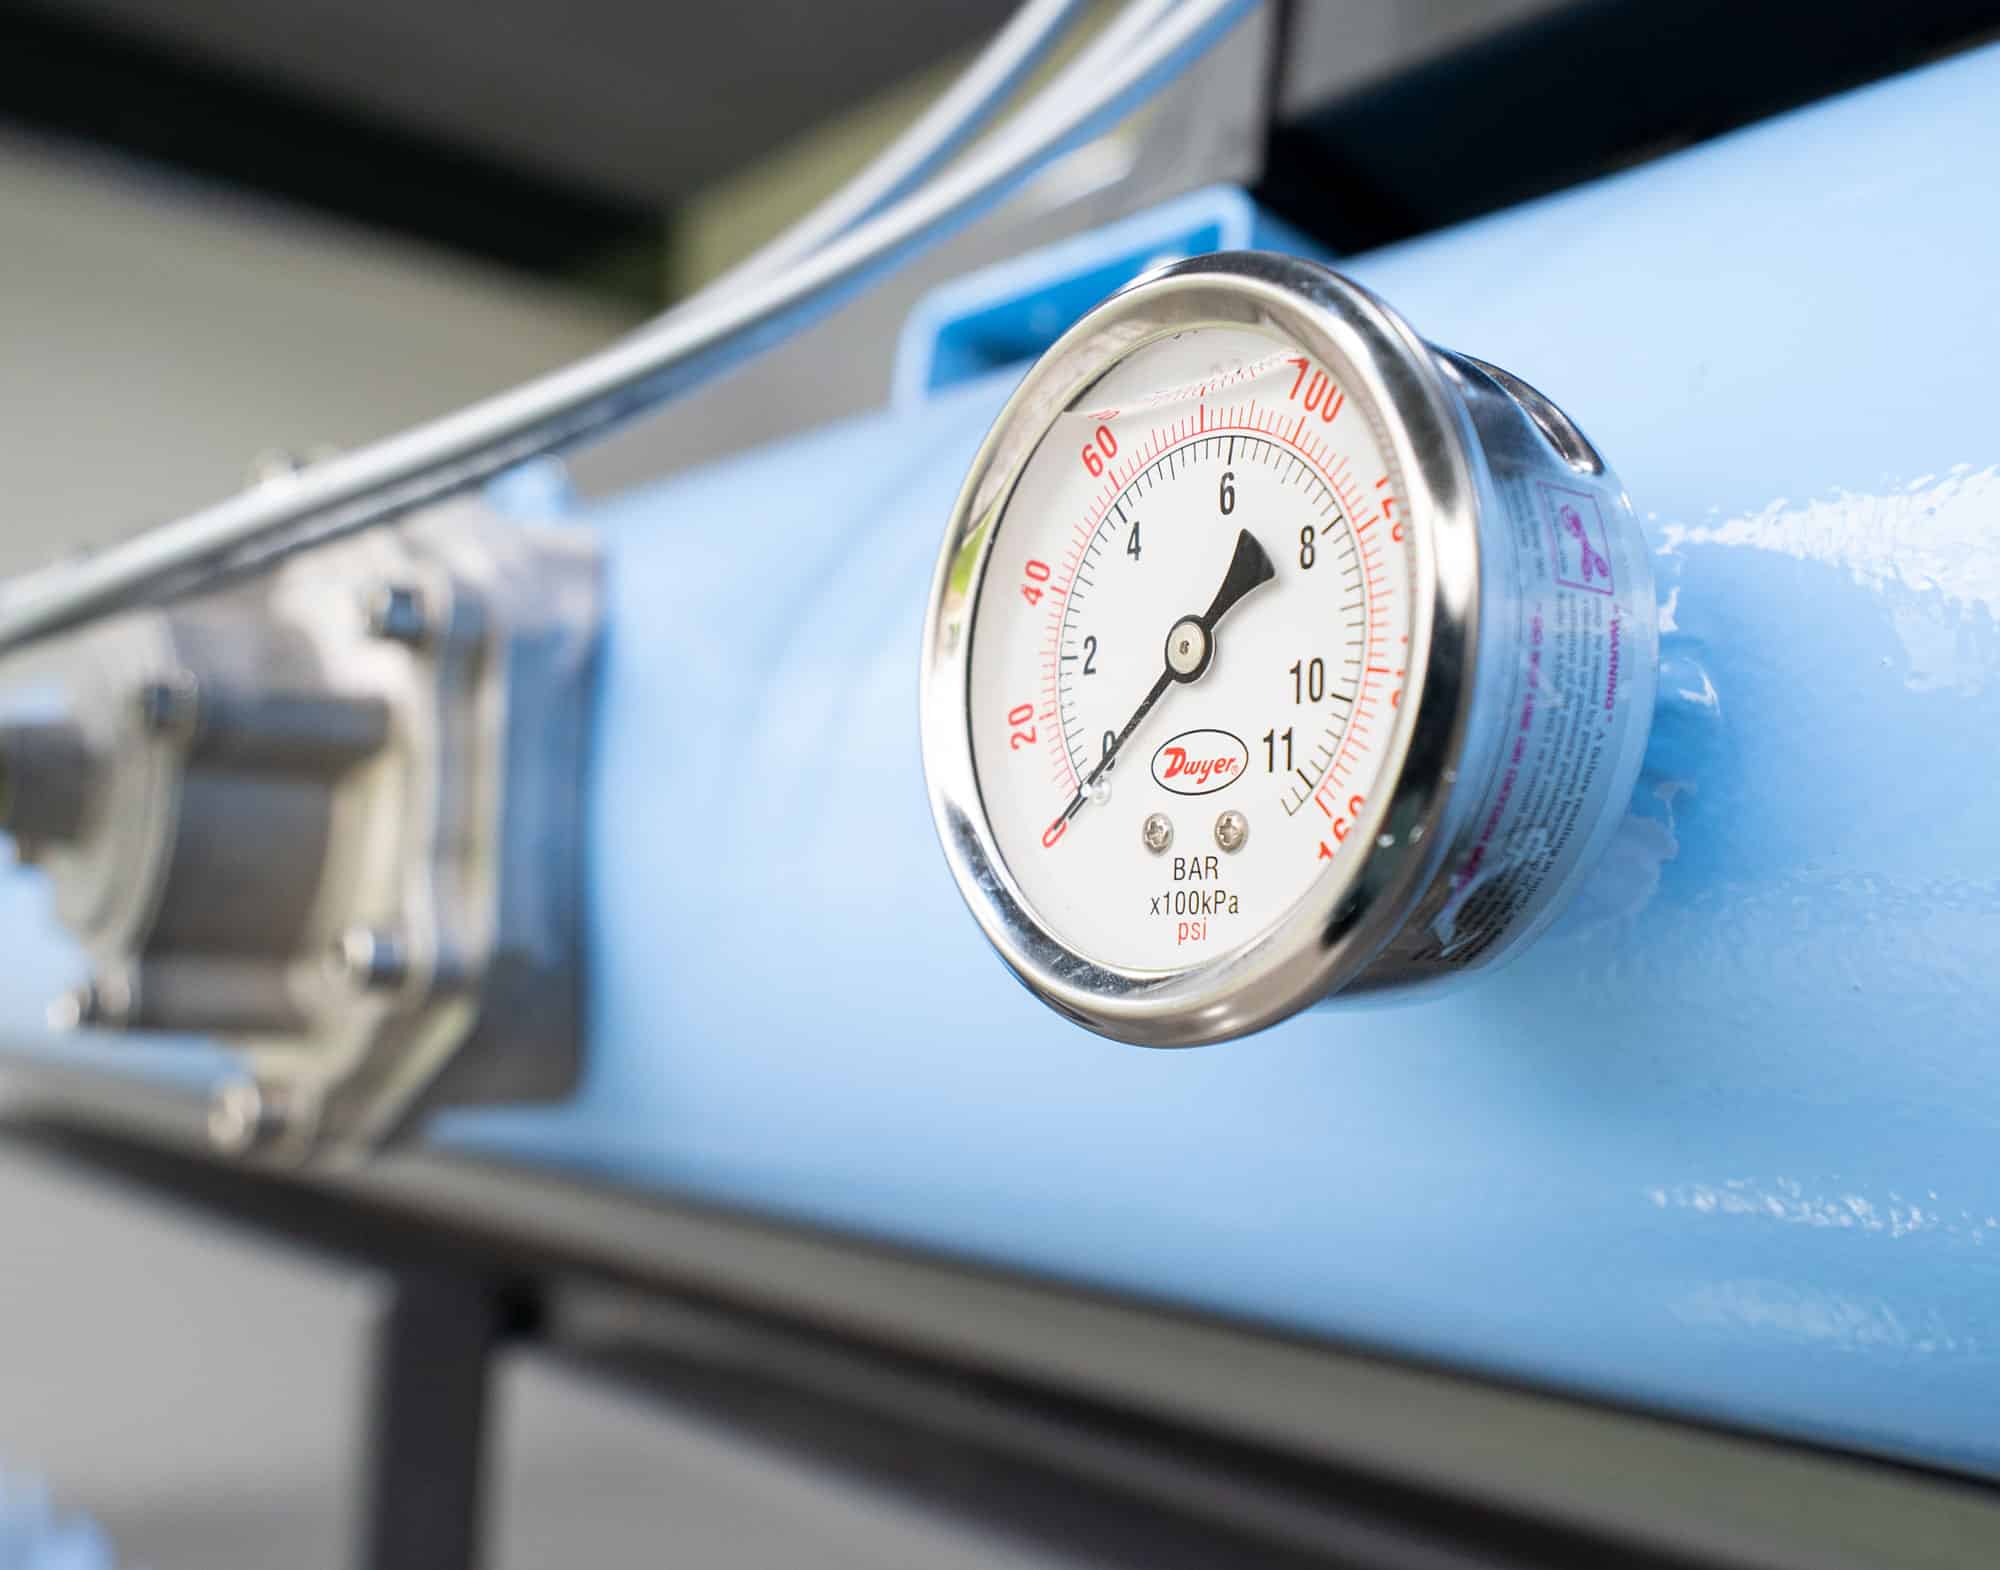
Differential pressure measures the difference in pressure between the dirty and clean air sides of the collector. High differential pressure indicates that the filters are creating a lot of resistance. When the differential pressure reaches about 5” WG, filters need to be replaced.
By monitoring differential pressure regularly, you’ll notice any changes. For example, if differential pressure suddenly drops a lot, you may have a hole in a filter or a leaking gasket. Consequently, this lets air get through more easily by bypassing the filters.
2. Check drums and hopper.
Overflowing your dust collection drum can create a mess. Worse, it can also seriously damage your dust collector. Drums must be emptied before the dust reaches the top. Fortunately, installing a dust level sensor can help monitor this.
If drums overfill, the dust can back up into the hopper and into the dust collector. Firstly, this may damage the filters. Secondly, it creates a dangerous situation where dust could ignite inside the dust collector.
3. Inspect valves and hoses.
Diaphragm and solenoid valves control the pulses of compressed air that clean your filters. These valves can become damaged or leak. This causes a loss of compressed air. It also means that filters may not get cleaned effectively.
Check these valves regularly. First, make sure that when the cleaning system pulses, all the valves work at the same time. Second, make sure that the valves open all the way and close all the way. Check that all hoses are attached and inspect them for leaks.
4. Examine door seals and gaskets.
Dust collector doors have a seal that keeps air and dust inside. This gasket around the edges of the door can become worn out or cracked. If this happens, the door will not seal properly.
Open the dust collector doors and inspect the gaskets. If they appear to be damaged, they should be replaced. Air leaks can allow dust to escape. They can also allow air to be pulled into the dust collector. This can keep the system from moving air properly.
5. Check compressed air pressure.
Pulse-jet dust collectors clean their filters with compressed air. This removes dust from the filters to keep them working well. If the compressed air pressure is too low, the pulse jet cleaning system can’t clean the filters efficiently.
If compressed air pressure is too high, filters could be damaged. Check the pressure of the compressed air regularly. It should be at the setting specified in your owner’s manual.
In addition, never take your filters out and blow them off with compressed air. This damages the filters, causing holes and tears in the material. Let the dust collector cleaning system do its job and change filters when needed.
6. Inspect airlock wipers.
Many dust collection systems include an airlock. NFPA standards often require airlocks to isolate a fire in the dust collection system. You must replace the wipers inside the airlock when they are worn out.
We recommend that you replace airlock wipers once a year, or sooner if needed. Damaged wipers will reduce the airlock’s performance. We also recommend that when you inspect and replace wipers, you also replace the wiper bearings. These wear out with use and can be damaged during wiper changes.
7. Lubricate fan bearings.
Your fan motor will normally come with an owner’s manual. This specifies which bearings need lubrication and how often. Make sure your maintenance schedule includes time to keep these bearings lubricated.
If your fan stops working or must be shut down for repairs, the dust collection system will be out of operation. As a result, you may not be able to keep up with normal production. Maintenance of the fan, including bearing lubrication, takes less downtime than a broken fan.
Your Maintenance Schedule
Like any other industrial equipment, your dust collection system requires regular maintenance. Fortunately, you can perform this maintenance using the above Dust Collector Maintenance Checklist without wasting too much time.
Maintenance also helps you identify problems. For example, if you notice the differential pressure getting high, you can order a new set of filters and have them ready for a changeout. If you notice issues with a diaphragm valve, you can replace it quickly instead of wasting compressed air.
ServiceMAXX Maintenance: Help for Your Dust Collector
An Imperial Systems ServiceMAXX technician can perform routine maintenance on any manufacturer’s dust collector. Nobody likes dirty work like changing filters, but you can schedule a ServiceMAXX visit and have someone else do it.
ServiceMAXX saves time so your own team can keep working while we deal with your dust collector. And if you do have a problem, the ServiceMAXX team specializes in finding and fixing dust collection system problems.
Industrial dust collection systems can run into problems. You can prevent many of them with a good preventative maintenance plan. Others may require a visit from an experienced service team to troubleshoot and make repairs.
Please contact us to schedule your ServiceMAXX visit today for help with your dust collector maintenance or repairs.


